
Printing Day 7 – Reduction Block Printing
Reduction Block Printing is a multicolor print in which the separate colours are printed from the same block at different stages. Each stage starts to build up an image and at first I found it a bit tricky to get my head around what was happening for each layer i.e. colour and what to carve away from the lino but I managed to work it out in the end.
I used 3 colours to start off with and this includes the white paper I was printing on. To work out my design I used a coloured piece of paper (I chose pale blue and lilac). This is going to represent the first layer/colour you will print. Draw your desired pattern on to the paper. For this I used white chalk and a black marker. Everything you draw in white chalk is going to represent the white paper I am printing on, in other words there will be no ink printed on these areas. The black marker represents the second layer/colour.

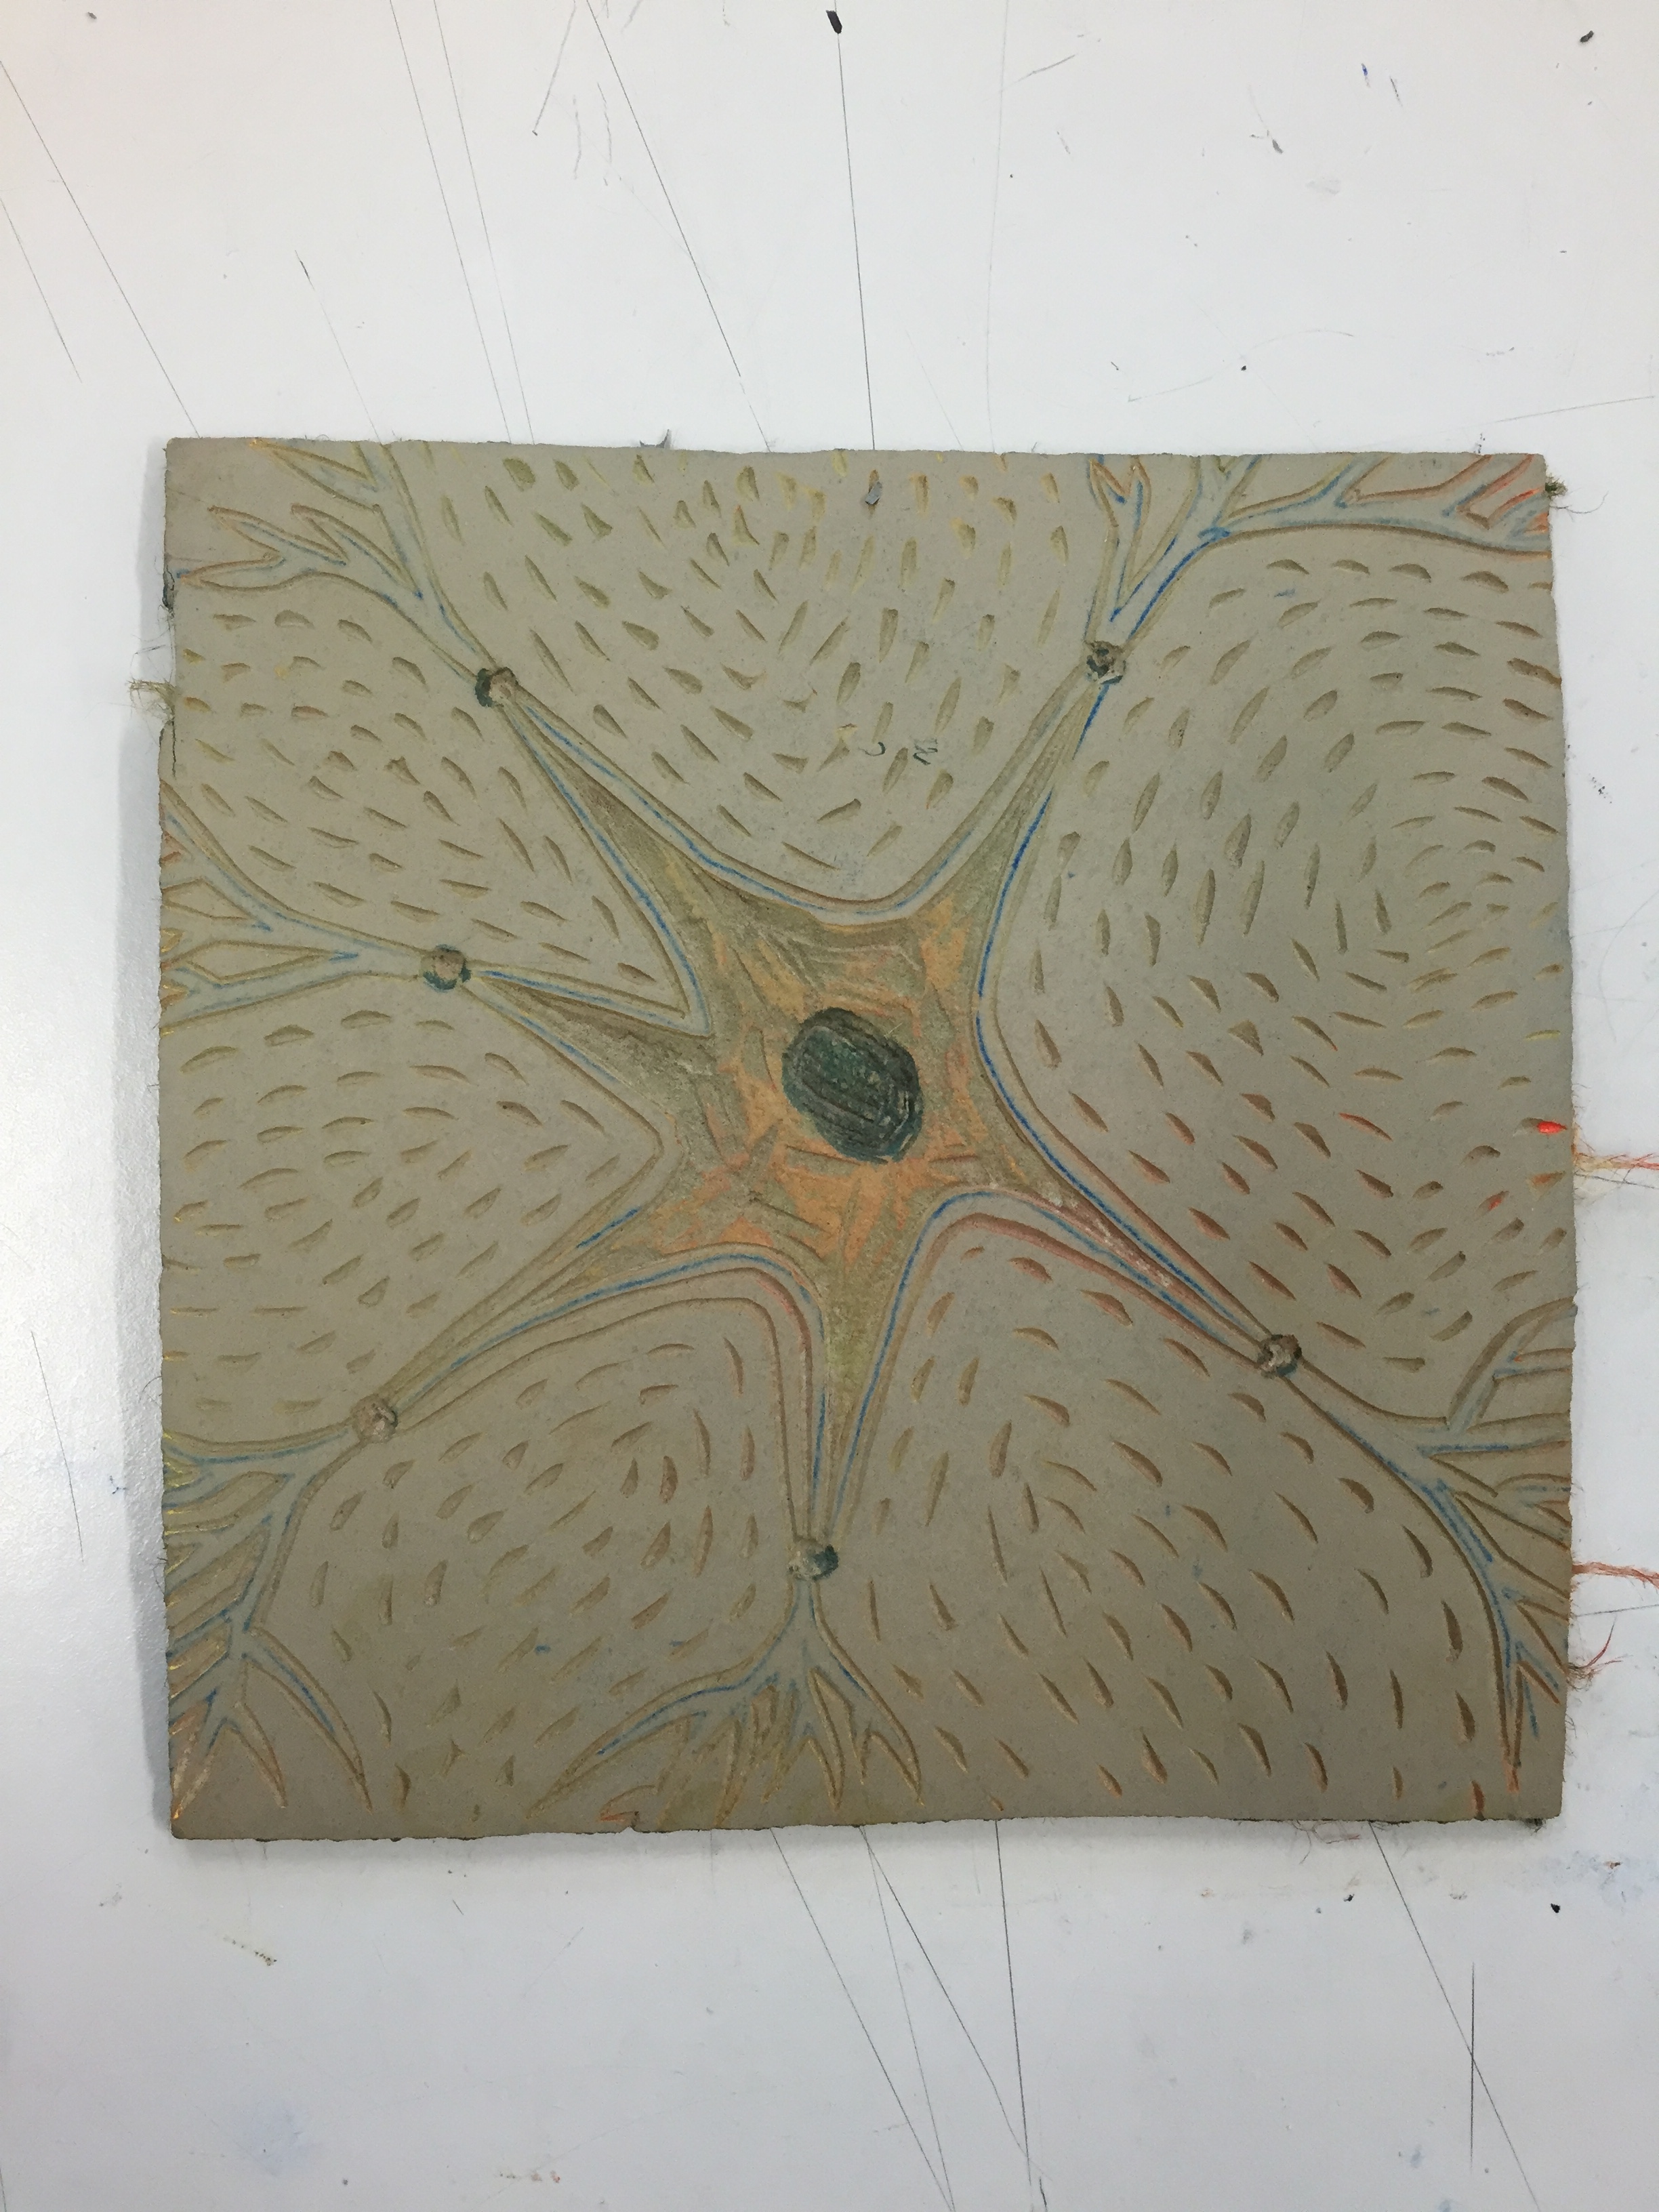
I chose to print my Neuron design so that I can use it in my Neuroscience project. Masking tape it to your piece of lino so that it doesn’t move around. Then place a piece of carbon paper between the lino and your design with the shiny side facing down onto the lino. Using a biro draw over your white chalk areas. When you lift up your paper this will then have transferred onto your lino.


The next step is to carve out your marked out areas, roller your lino in ink and then print onto Shoji Paper using a proofing press.


You have now printed your first colour (blue/purple paper) and are now ready for your second layer. Now you need to carve everything but your second layer, the black marker. Because I had a lot of blue paper with no pattern on, I decided to add a stippled effect to save me carving out all of the blue area, it added to the neurone effect nicely.
Now you can overprint and add your second layer to your first layer. I laid my first print on the press facing up and then placed my lino facing down on top. I also tried it the opposite way round and they both turned out fine. You have to use your best judgement to place it in the right place.


Then unveil your prints.


